One of the perks of model railroading is the freedom to work on whatever section or theme suits your mood, whether it be foundation, track laying, scenery, rolling stock, electrics, etc., etc. Nonetheless, construction has now begun in earnest, so the first thing I decided to do was one of the primary structures, the engine shed. The concept has been in the back of my mind for quite some time in many iterations. But the basic structure is to hold/service engines. Luckily a recent work project lent itself to being adapted for train use, rather than for its other more "lofty" function, so I modified and scaled the virtual model accordingly, and had it 3D printed.

A truss frame only partially clad, it is 10" long, 5" wide and 5" high. It was scaled to fit the track plan, located on the lower left side of the layout.

That was the easy part. What followed then were many evenings of scrounging various parts, greeblies and other bits and pieces from the many storage boxes. Nothing was safe... Eventually through alot of trial and error, the shed appeared. It is very similar to a previous project of mine...

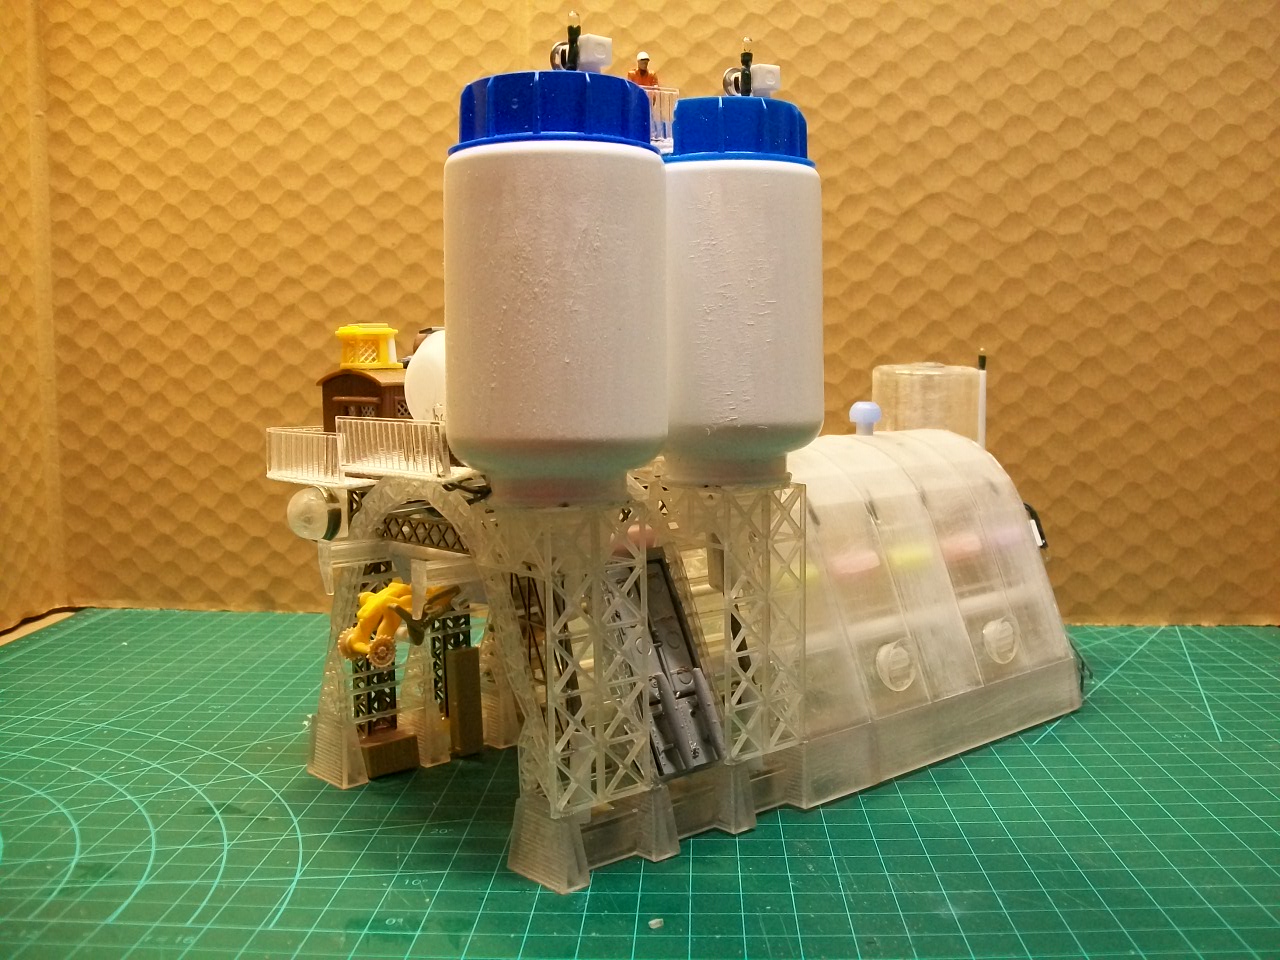
Surplus laser and 3D printed parts, various scale model bits from tanks, aircraft, & other sacrificial trains, lots of good ole dollar store acrylic shapes, vitamin bottles, and of course, the now traditional Zaini egg, which has replaced the previous Kinder egg (due to the design change, and I have run out of the old style).


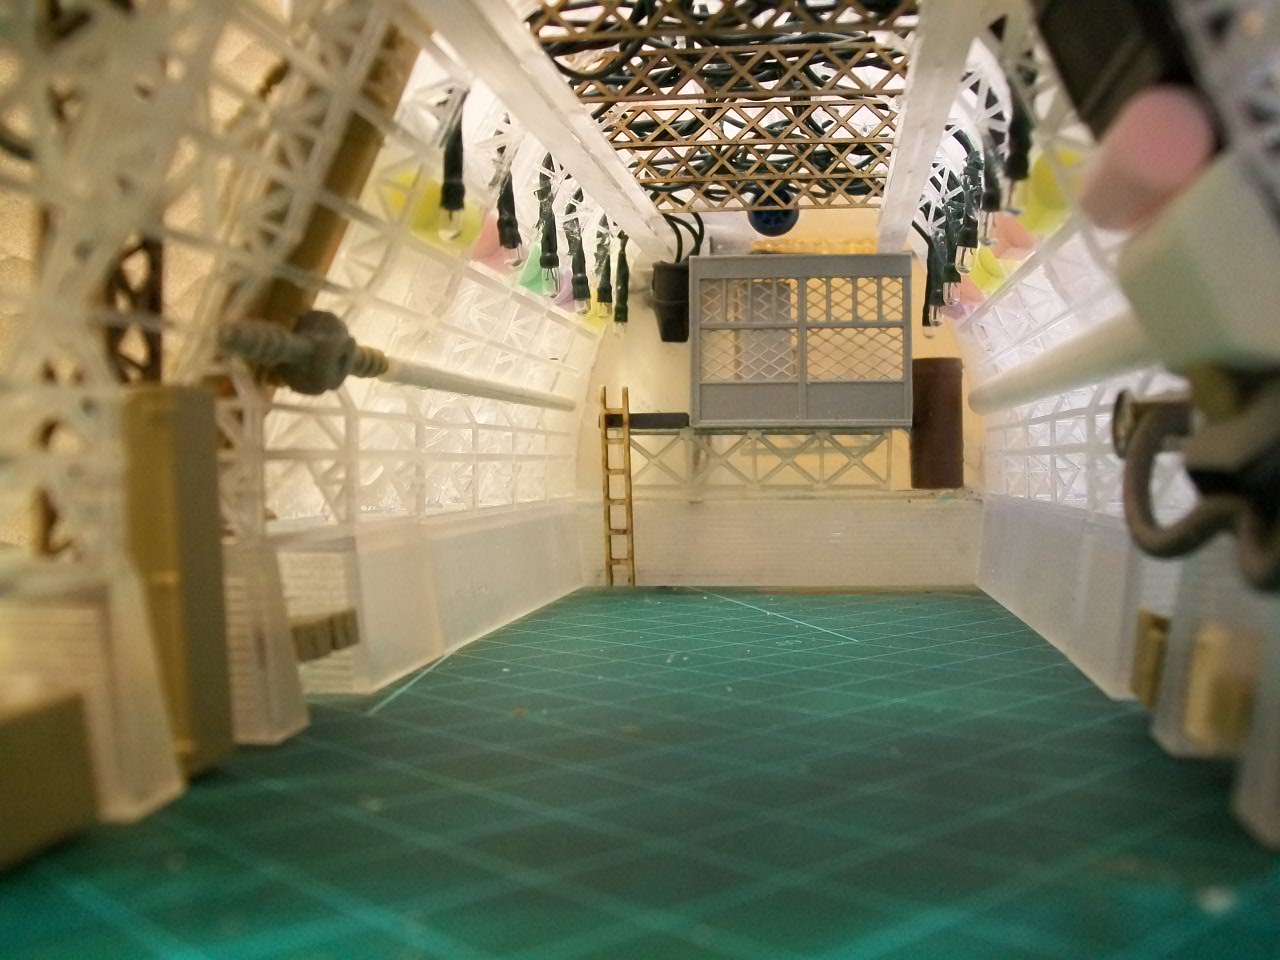
I wanted it to look functional, with every part having a logical reason. (You can get an idea of the scale if you look for the 00 gauge fellow in the high visibility vest). One thing I waffled about was whether or not to include lighting. Since there was no blueprint or plan, I had to wait until the model was finished and add the lights in post construction. That was several hours of frustration weaving a 20 foot string of mini lights through the structure, starting at the two large tanks and working to the rear. Most of the lights are inside.
With the lighting completed, the bulbs were masked and it was off to the "Cheap as Chips" spray booth for prime time!


