Tonight's spotlight is on Module C, the Primary Life Support Unit. This was actually the first piece I started when the project began, and obviously, the most heavily influenced by the "Ultra Probe". The base was the first section of the Airfix Saturn V model used, parts for Stage 2. It was constructed as per the instructions, but then everything changed after that!
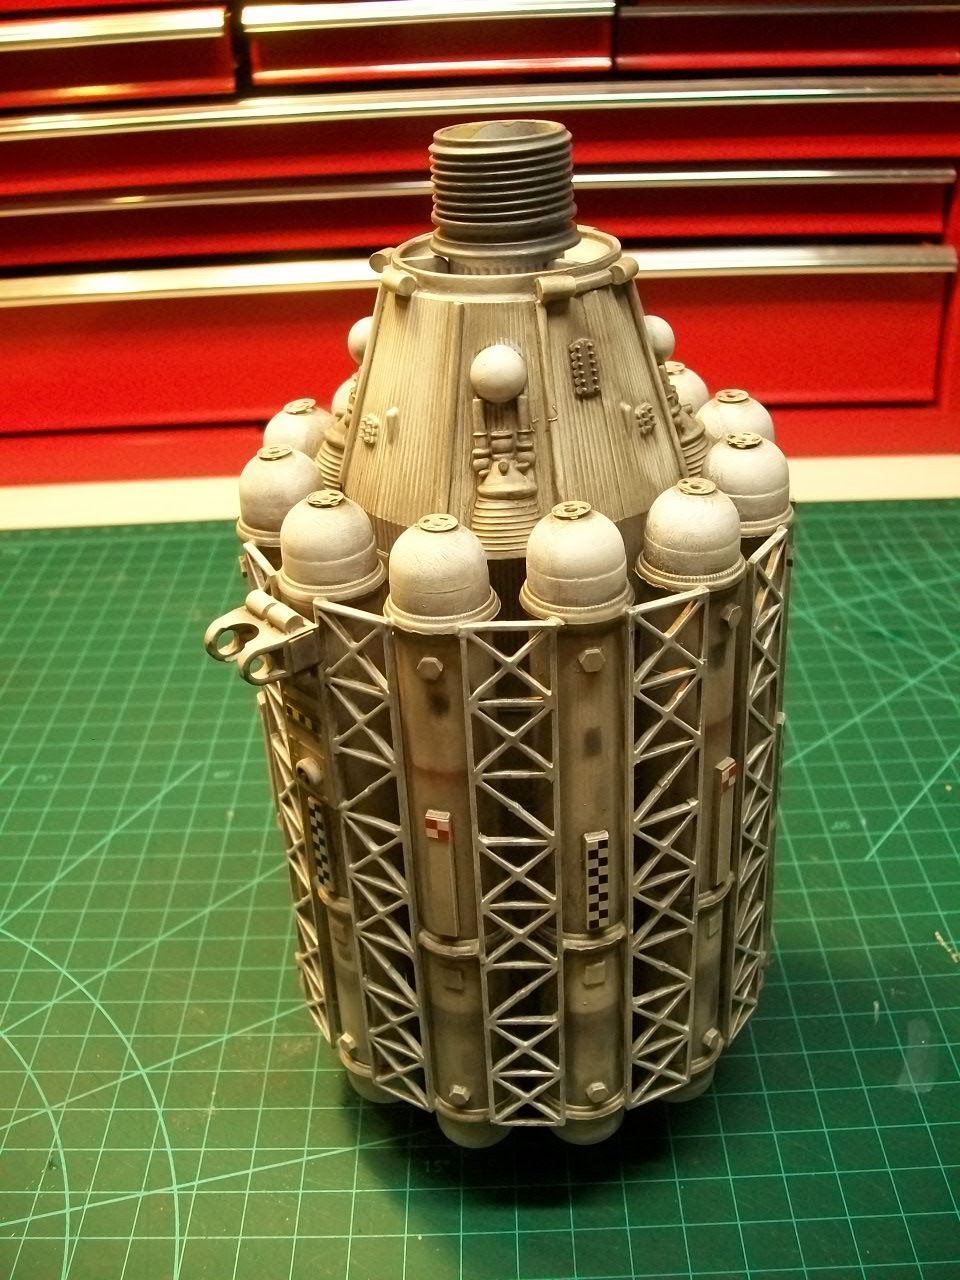
I then added two cylindrical fittings at each end to support the internal hollow brass rod. The one at the front is a hose fitting from some Gardenia product (don't tell the wife...), and the one at the end a cap from the big box of lids; it's a banker's box full folks! The most distinct feature on this module is of course the array of tubular tanks. Whereas Sir Martin's Ultra Probe had six, I have doubled that to twelve.

The tanks are actually acrylic tubes liberated from the good ole dollar store, which were sold as containers for Jello shots. They came in a pack of six and I cleaned off the shelf. Unfortunately I have not seen them since. As they are open at one end, I capped them with appropriate sized googly eyes, which I usually acquire at craft and sewing stores. I had to create a jig so I could place the tubes accurately at every thirty degrees; I had made a special mounting part to help with this. The silver rings are actually rings, another dollar store find. Used apparently for Stag & Doe parties as mock wedding rings.
The tubes are linked by surplus laser cut Perspex, and the smaller domes and tanks are those plastic fake pearls from the "you guessed it!" Then obligatory greeblies, other parts from the Saturn V, and small plastic shapes, which are actually negative pieces (cast offs) from laser cutting. Never throw anything out!
The metal rings on the end of the tanks are parts of snap fasteners, another acquisition from the sewing store. They come in many sizes, and are good for varied uses, but not as intended on my workbench of course! Building completed, it was prime time. As stated in the previous post, every part primed at the same time, and the failed water based weathering attempt. IPA and acrylic wash on this bit too. Took an evening to get the shading right.
With various shades of pigments, I used templates to create seams and shading on the tubes and some paneling. Much less graphics on this part too; just some checkerboards.
Grey for the end caps and some red oxide thrown in for good measure. You may notice two brackets on two of the tubes. These were intended to hold solar panels which would fold away when the ship was in warp and then deploy horizontally. Something similar to the "Meta Probe" or "Altares".
I built them from the solar panels in the Laser Battle Stations kit as a base and then glued on prismatic sheets from the crafting aisle. I did not like the result, as it made the ship look awkward and ruin the lines, so I omitted them and just replaced the brackets with some greeblies. Here are the panels by the way...
So that wraps up Module C! Next time, Module D, the Habitat Ring. The largest, heaviest, and my favourite part!


No comments:
Post a Comment